Nel settore dell’ingegneria strutturale si è alla continua ricerca di materiali che presentino basse densità ed al contempo buona resistenza, buona rigidezza, buon comportamento all'abrasione ed all'impatto e che non siano facilmente soggetti a fenomeni di corrosione. La conoscenza delle caratteristiche meccaniche e fisiche di un materiale è il primo passo per una corretta valutazione delle prestazioni in esercizio del componente.
Nelle attività di ricerca e sviluppo sono frequentemente richieste attrezzature/accessori per l’esecuzione di prove sperimentali che non costituiscano il corredo standard delle macchine di prova.
Le attrezzature standard commercializzate, in accordo con le normative UNI, EN, ISO, ASTM, DIN, BS, AF, sono realizzate in acciaio al carbonio, in acciaio inossidabile o in leghe metalliche (leghe di nichel) in modo da conferire al prodotto elevate prestazioni, anche a temperature elevate e minimizzare effetti indesiderati quali corrosione e ossidazione nelle normali condizioni ambientali di laboratorio.
BOND TESTS
Download PDF
Download PDF
Download PDF
Download PDF
Download PDF
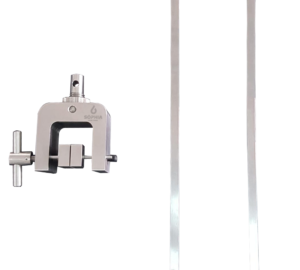
Download PDF
COMPRESSION LOADING
Download PDF
Download PDF This test method indicates the compression properties of strength and stiffness of composite materials with polymer matrix by means of a combined compression load. This type of testing can be applied to general composites that are balanced and symmetric. The specimen may be untabbed (Procedure A) or tabbed …
Download PDF The fixture is used for testing composite materials under uniaxial compression. The flat piece is a load plate made of hardened steel, to be interposed between the upper protrusion of the specimen and the load floor of the test machine, to protect the load plate. There is actually …
Download PDF
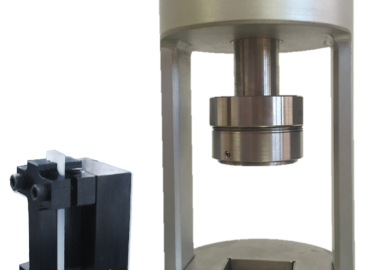
Download PDF
FASTENER RELATED TESTS
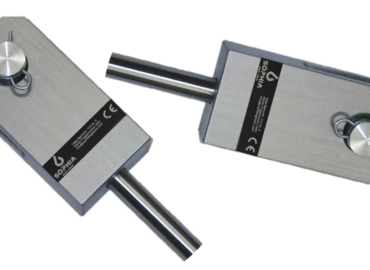
Download PDF
Download PDF ASTM Standard D 5961 includes four distinct laminate bearing test methods, identified as Procedures A, B, C, and D. Procedure B is actually a specimen support fixture. The other three procedures, as will be described here, are pin bearing fixtures. PROCEDURE A: DOUBLE-SHEAR TENSILE LOADING Procedure A …
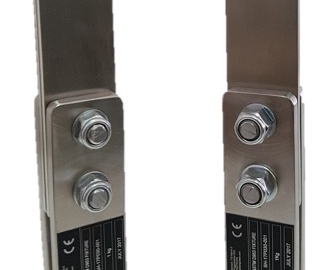
Download PDF This procedure is used for determining the bearing capacity of rigid plastic or in the form of sheets, printed form, or in the form thermoset pultruded. There are two procedures. Procedure A is applicable for the load voltage and Procedure B for the compression load. This tests for …
Download PDF This test method is used for pull-through strength, i.e., the strength of the plates the fastener is holding together. The test specimen consists of two 1.5” square plates connected at their centers by the desired fastener being tested. To maintain proper rotational alignment of the two halves of …
Download PDF The bearing strength of a 1.5” wide test specimen assembly containing one or two ¼” diameter fasteners is to be determined.
FLEXURAL LOADING
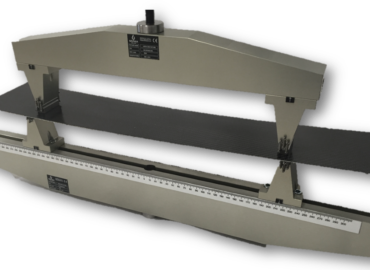
Download PDF This test method covers the determination of the properties of flat sandwich constructions subjected to flatwise flexure in which the applied moments cause curvature of the sandwich facing planes. These tests may be conducted to determine the sandwich flexural stiffness, the core shear strength and shear modulus, or …
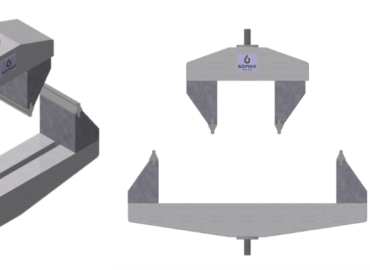
Download PDF This test method determines the flexural properties (including strength, stiffness, and load/deflection behavior) of polymer matrix composite materials under the conditions defined. Procedure A is used for three-point loading and Procedure B is used for four-point loading. Procedure A—A three-point loading system utilizing center loading on a simply …

Download PDF This is a specialized version of the standard Long Beam Flexure Fixture and includes linear bearings alignment rods. It does not have an adjustable structure, as it has been designed for specific load and support spans. In test environments such as the control of production quality, sometimes this …
Download PDF
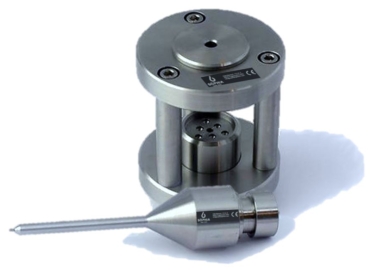
Download PDF A ring supports thin circular disks of a monolithic ceramic material, or a whisker- or particle-reinforced ceramic matrix composite. These disks are loaded by a smaller diameter concentric ring, a so-called ring-on-ring loading. Thickness and material of the sample determine the required diameter of the support and loading …
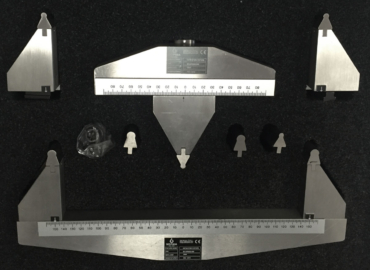
Download PDF ASTM D790 are used for determining the flexural properties of unreinforced and reinforced plastics, including high modulus composites and electrical insulating materials utilizing a three-point loading system to apply a load to a simply supported beam (specimen). ASTM D790 can generally be applied to both rigid and semi-rigid …
FRACTURE TOUGHNESS TESTS
Download PDF
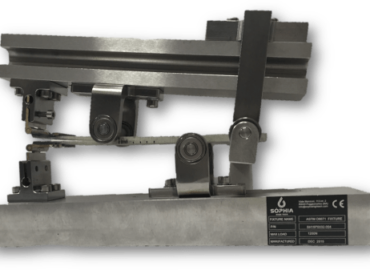
Download PDF This test apparatus is useful to determine the opening Mode I interlaminar fracture toughness, GIc, of continuous fiber-reinforced composite materials by the double cantilever beam specimen. This test application is employable with composites consisting of unidirectional carbon fiber and glass fiber tape laminates with brittle and tough single-phase …
RUBBER TESTS
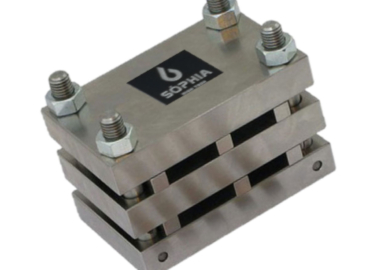
Download PDF This test methods is useful for the test of rubber that should be used in applications in which the rubber will be subjected to compressive stresses in air or liquid media. For example in machinery mountings, vibration dampers, and seals. Two test methods are provided and covered in …
SHEAR LOADING
Download PDF
Download PDF
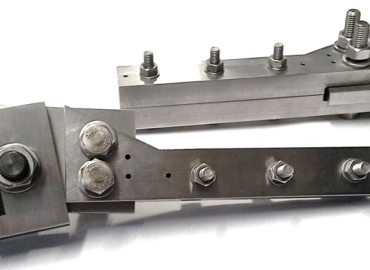
Download PDF This test method indicates the cutting properties in the plane of a high modulus fiber-reinforced composite materials by two procedures. As regards the procedure A, laminates stuck between two pairs of loading rails are tested. When the tension load is applied to the rails, shear forces arise in …
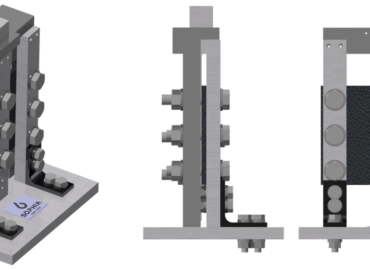
Download PDF
Download PDF
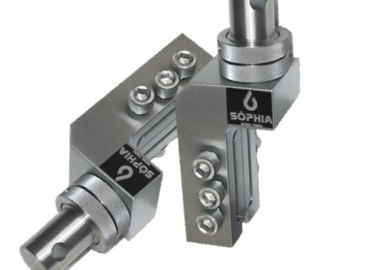
Download PDF
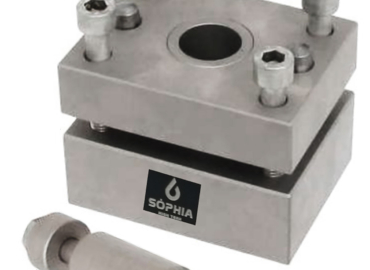
Download PDF ASTM D 732, defines a punch-type of shear test. This test method covers the procedure for determining the shear strength of composite materials in the form of sheets, plates, and molded shapes. The thicknesses of specimen can range from 0.050” to 0.500”. A disc from 1” diameter will be drilled …
SPECIALTY COMPRESSION TEST FIXTURES
Download PDF Knowledge of the damage resistance and damage tolerance properties of a laminated composite plate is useful for product development and material selection. The residual resistance data obtained by this test method will be used in the specification of materials and research and development. The properties obtained using this …
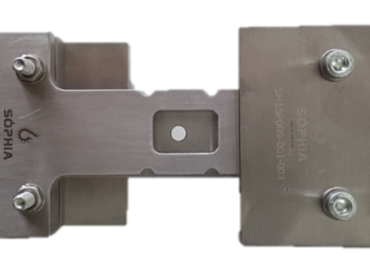
Download PDF This test method is designed to produce notched compressive strength data for structural design allowables, material specifications, research and development, and quality assurance. Factors that influence the notched compressive strength and shall therefore be reported include the following: material, methods of material fabrication, accuracy of lay-up, laminate stacking …
Download PDF The untabbed sample is 3 “long, 1” wide, and the thickness can vary depending on the material and layup in the testing phase. Northrop Specification recommended thicknesses from 0.125 “to 0.250”. The standard sample contains a central “diameter hole 0.25, even if the unit has proved effective, even …
Download PDF This common method in aerospace concerns compression tests on plates, rolled experimentation multidirectionaldetermination of the post-impact compressive strength. The methodis also useful for the compression tests after impact on composite materials, the company has acquired a new realization of controlled impact machine. The impact receiving sample is placed …
Download PDF This type of NASA compression after impact (CAI) of compression of the test device is an alternative to the more popular Boeing compression after the compression of the device of the impact test. The NASA devices are 10 ” long and 5″ in width. As in Boeing method, …
SPECIALTY TENSILE TESTS
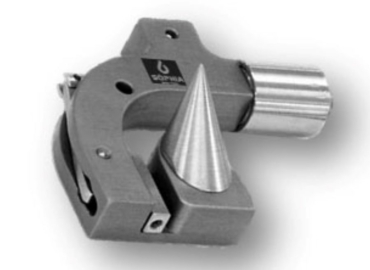
Download PDF These test methods cover the tensile testing of aramid threads, twisted cables from these yarns and fabrics from these cables. The yarn or cord can be wound on cones, tubes, coils, chokes, or beams; It can be woven into fabric; or they can be realized in some other …
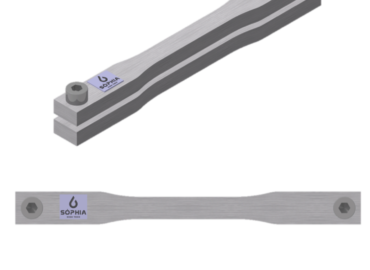
Download PDF Tensile tests measure the force required to break a plastic sample specimen and the extent to which the specimen stretches or elongates to that breaking point. ASTM D-638 tensile test procedure: Specimens are placed in the grips of the universal tester at a specified grip separation and pulled …
Download PDF
Download PDF Upper and lower bonding blocks of the equipment are realized each with a double yoke arrangement. This conformation is made in order to allow full alignment of the sample during tensile load. On the testing machine there is an attachment standard 1.25″ diameter male studs with 0.50″ diameter …
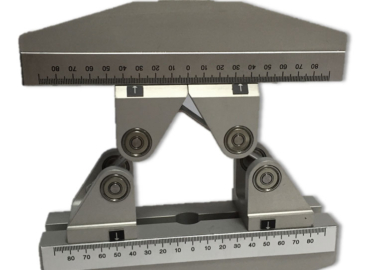
Download PDF This fixture is useful to indicate the curved beam strength of a continuous fiber – reinforced composite material. For the test run it is necessary to use a curved beam sample 90 ° that has to be positioned for the four-point-bending test apparatus in order to be loaded. …
SPECIMEN FABBRICATION AIDS
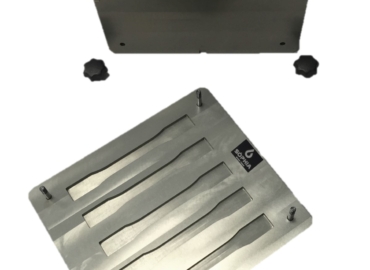
Download PDF The fixture was designed in relation to the test method expressed in ASTM D638 designation. This method has been realized to produce tensile properties data for the control and specification of the plastic materials. The collection of these data is useful for the qualitative characterization and for research and …
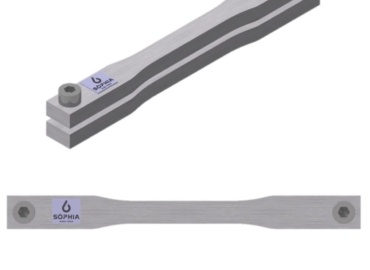
Download PDF ASTM D638 tensile tests measure the force required to break a plastic sample specimen and the extent to which the specimen stretches or elongates to that breaking point. Tensile test procedure: Specimens are placed in the grips of the universal tester at a specified grip separation and pulled …
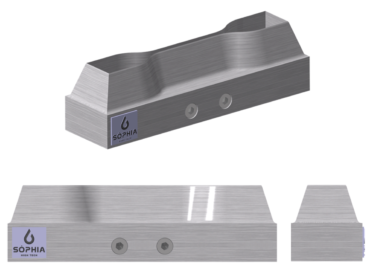
Download PDF BS EN 455-2 describes the testing requirements for determination of physical properties, including break strength, before and after accelerated aging, of medical gloves for single use, surgical gloves, examination/procedure gloves, long-cuff medical gloves, and seemed/welded gloves. For this test, we recommend either pneumatic grips side acting grips or …
Download PDF To characterize the mechanical properties of the polymer to be used as the matrix material in a new composite material system it is often necessary. Thermoset polymer specimens can often be cast to finish dimensions in open molds.
TENSILE LOADING
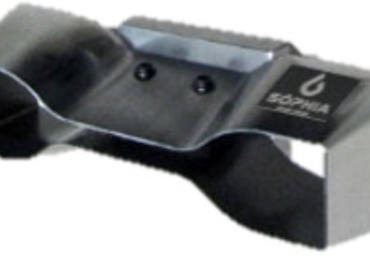
Download PDF This method covers the effect of the application of a tension load to vulcanized rubber and similar rubber-like material at room temperature and elevate temperature. Covered are tests for tensile stress, tensile strength, ultimate elongation and set. The method is not applicable to the testing of material ordinarily …
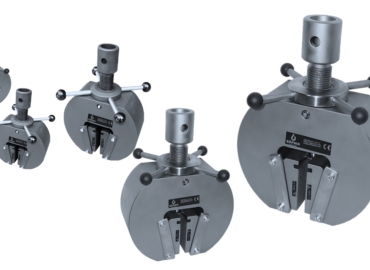
Download PDF
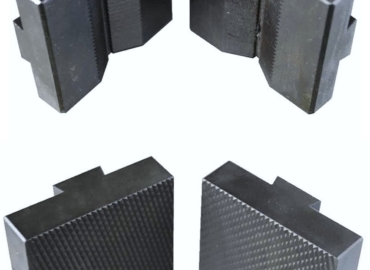
Download PDF Wedge grip inserts of all types, in all sizes and load capacities to fit all existing wedge grip bodies, can be provided, including custom designs for special applications. While machined serration grip faces, either straight- or cross-serrated, are very popular, grip faces covered with tungsten carbide particles are …
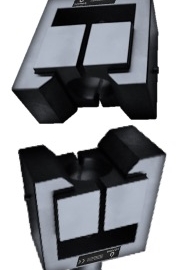
Download PDF Foam tests and foam testers provide a standard method of obtaining data for research and development, quality control, acceptance or rejection under specifications, and special purposes. Type A specimens are used when enough sample material exists to form the necessary specimen. Type B is preferred when smaller specimens …
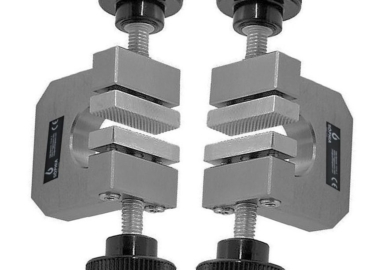
Download PDF In general, the thin sheet to be tested, plastic or metal film or sheeting up to 0.040 “in thickness, is held by the line of contact at each end between the flat reinforcing plates and the eccentric rolls. To facilitate the installation of the specimen cylinders have a …
Download PDF To tensile test cordage, rope, flat strapping and similar flexible materials that might be otherwise difficult to grip without creating undesirable stress concentrations and premature failures, typically are used split capstan grips. Depending on your needs, it is possible to configure the capstan grips. To hold the sample, …
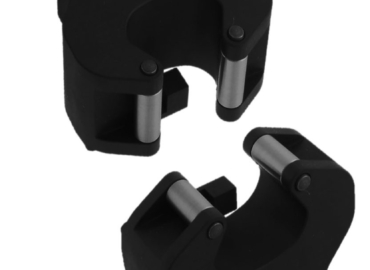
Download PDF The equipment is composed of lower and upper handles, which are equal. Its purpose is to determine the resistance to traction of briquettes special form of mortar, mortar and other similar materials of monolithic lining. The stop plates on the grips center the specimen fore and aft. Through …
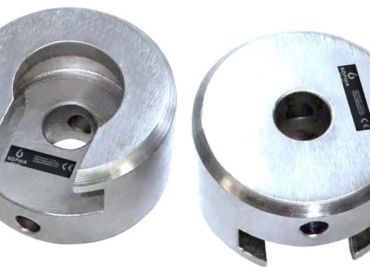
Download PDF To help maintain the axial alignment load, usually universal joints are used in traction load applications. Can be designed and manufactured universal joints of all the final attack configurations and the load capacity. Usually, the material chosen for the realization of joints is 17-4 PH stainless steel, with …
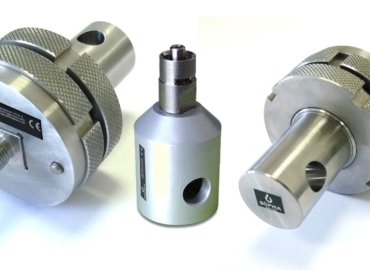
Download PDF Locking rings, adapters, and brooches of any configuration, to adapt specific test equipment to every type of mechanical or servo-hydraulic test machine. Every sistem can be customized according to Customer needs.


